This post may contain affiliate links. We may receive a small commission, at no cost to you, if you make a purchase.
Read Disclosure
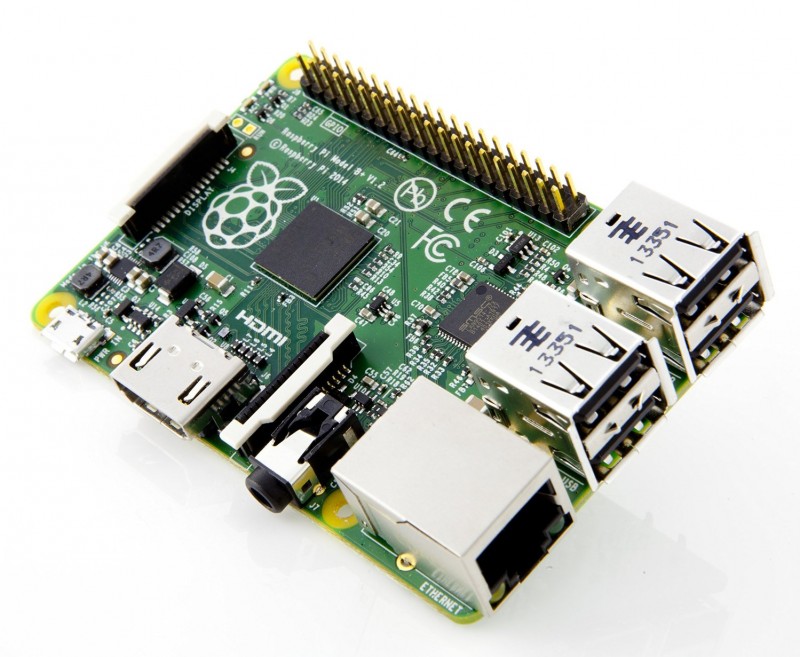
Raspberry Pi 3 installation Raspbian Jessie Pixel complete installation for Beginners.
In this video I will teach you how to install Raspbian to Raspberry Pi 3, I’ll make it simple and easy even for those who are a new at Raspberry Pi, I will explain step by step, you’ll see how simple it is!
- We will first download the required software and image
- We will install image to the SD card
- We will modify the config.txt to fix video problems so you do not get a blurry screen as 90% of people get
- We will run the raspi-config and do changes
- We will update the firmware.
- We will update and upgrade the software
- We will have fun !
Download the following software.
Recommended Programs
https://mediaboxent.com/en/news/build-google-assistant-raspberry-pi-3/
SD card size (capacity).
For installation of NOOBS, the minimum recommended card size is 8GB. For image installations we recommend a minimum of 4GB. some distributions, specifically LibreELEC and Arch, can run on much smaller cards.
SD card class.
The card class determines the sustained write speed for the card; a class 4 card will be able to write at 4MB/s, whereas a class 10 should be able to attain 10 MB/s. However, it should be noted that this does not mean a class 10 card will outperform a class 4 card for general usage, because often this write speed is achieved at the cost of read speed and increased seek times.
$ sudo raspi-configUpdate firmware
$ sudo rpi-update$ sudo ldconfig$ sudo shutdown -r nowRpi-update first time:
$ sudo apt-get update
$ sudo apt-get dist-upgrade
$ sudo apt-get install -y rpi-chromium-mods
$ sudo apt-get install -y python-sense-emu python3-sense-emu
$ sudo apt-get install -y python-sense-emu-doc realvnc-vnc-viewer
$ sudo shutdown -r nowThis config.txt for HDMI Monitor it will fix Raspberry Pi graphics blurry
# For more options and information see
 # http://www.raspberrypi.org/documentation/configuration/config-txt.md
 # Some settings may impact device functionality. See link above for details

# uncomment if you get no picture on HDMI for a default "safe" mode
 #hdmi_safe=1

# uncomment this if your display has a black border of unused pixels visible
 # and your display can output without overscan
 disable_overscan=1

# uncomment the following to adjust overscan. Use positive numbers if console
 # goes off screen, and negative if there is too much border
 #overscan_left=16
 #overscan_right=16
 #overscan_top=16
 #overscan_bottom=16

# uncomment to force a console size. By default it will be display's size minus
 # overscan.
 framebuffer_width=1280
 framebuffer_height=720

# uncomment if hdmi display is not detected and composite is being output
 #hdmi_force_hotplug=1

# uncomment to force a specific HDMI mode (this will force VGA)
 #hdmi_group=1
 #hdmi_mode=1

# uncomment to force a HDMI mode rather than DVI. This can make audio work in
 # DMT (computer monitor) modes
 #hdmi_drive=2

# uncomment to increase signal to HDMI, if you have interference, blanking, or
 # no display
 #config_hdmi_boost=4

# uncomment for composite PAL
 #sdtv_mode=2

#uncomment to overclock the arm. 700 MHz is the default.
 #arm_freq=800

# Uncomment some or all of these to enable the optional hardware interfaces
 #dtparam=i2c_arm=on
 #dtparam=i2s=on
 #dtparam=spi=on

# Uncomment this to enable the lirc-rpi module
 #dtoverlay=lirc-rpi

# Additional overlays and parameters are documented /boot/overlays/README

# Enable audio (loads snd_bcm2835)
 dtparam=audio=on
 gpu_mem=256
FORCE HDMI FOR VGA MONITOR WITH ADAPTER HDMI TO VGA
config.txt
# uncomment if you get no picture on HDMI for a default "safe" mode

hdmi_safe=1

# uncomment this if your display has a black border of unused pixels visible

# and your display can output without overscan

disable_overscan=1

# uncomment the following to adjust overscan. Use positive numbers if console

# goes off screen, and negative if there is too much border

#overscan_left=16

#overscan_right=16

#overscan_top=16

#overscan_bottom=16

# uncomment to force a console size. By default it will be display's size minus

# overscan.

framebuffer_width=1024

framebuffer_height=768

# uncomment if hdmi display is not detected and composite is being output

hdmi_force_hotplug=1

# uncomment to force a specific HDMI mode (this will force VGA)

hdmi_group=16

hdmi_mode=2

# overscan_scale=1

# uncomment to force a HDMI mode rather than DVI. This can make audio work in

# DMT (computer monitor) modes

hdmi_drive=2